MTX recommends your speakers be installed by an authorized MTX retailer or car audio specialist. Verify all connections before powering up the system.
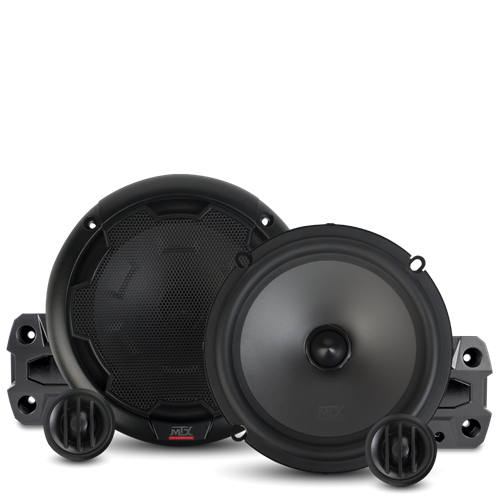
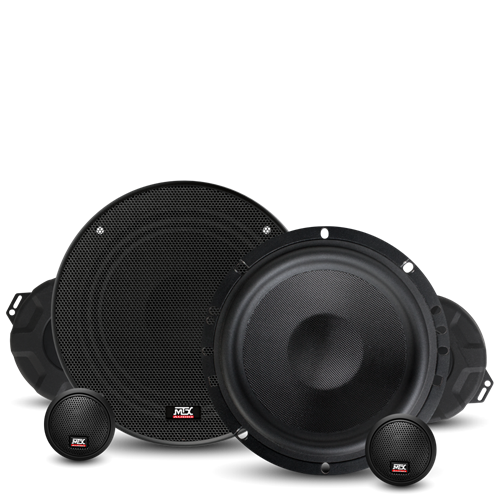
MTX component car speaker system with woofer, tweeter, and crossover
1
Unbox and Verify
Unbox all products and verify you have everything needed before starting. Component systems include a woofer, tweeter, and crossover for each channel — confirm all parts are present.
2
Disconnect the Battery
Remove the negative battery terminal before beginning any work on the vehicle's electrical system.
3
Locate the Speaker Positions
Identify the locations of the speakers to be replaced and confirm the new speakers are the correct size replacement. If installing a component system, note where the midrange, tweeter, and crossover will each be mounted. Consult the specific product manual for mounting dimensions and requirements.
4
Check Panel Access
Consult the vehicle manufacturer's documentation for access to dash, door, and rear deck panels. Every vehicle is different — knowing what to expect before pulling panels saves time and prevents broken clips.
5
Inspect Existing Hardware
Check for any broken or damaged mounting hardware, clips, or brackets that may need to be replaced before installing the new speakers.
6
Remove the Panel
Locate all screws securing the panel, including any hidden screws behind trim pieces or covers. Use a panel removal tool for snap-fit panels to avoid scratching or cracking the trim.
- Some panels are snap-fit and require only a panel removal tool — no screws
- Some panels clip, some slide, some lift — check before forcing
- Panel removal tools are available at hardware stores and tool suppliers
7
Unplug Panel Wiring
With the panel loosened, unplug any wiring harnesses connected to the panel — window switches, door locks, lighting, or other controls — before fully removing it.
8
Remove and Replace the Speaker
Unscrew the factory speaker and remove it from the mounting location. Mount the new MTX speaker in its place using the provided hardware. If the mounting hole requires an adapter ring, install that first.
9
Connect the Wiring
Speaker wire adapters allow you to connect new speakers to factory wiring without cutting any harnesses. If your vehicle does not have a direct-fit adapter available, connect the speaker wire directly, observing correct polarity (positive to positive, negative to negative) on both channels for proper stereo imaging.
10
Reinstall the Panel
Reconnect all wiring harnesses to the panel before reinstalling. Seat the panel carefully, ensuring all clips engage fully and no wires are pinched.
11
Reconnect the Battery
Reconnect the negative battery terminal once all panels are reinstalled and all wiring is confirmed secure.
12
Power Up and Test
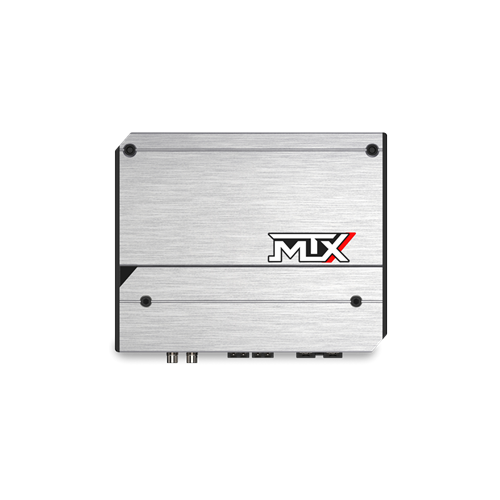
Turn on the radio and listen for clean output from all installed speakers. Bass and treble settings on the head unit may need adjustment to dial in the new speakers. If adding an amplifier, see the amplifier tuning guide for setting crossovers and gain correctly.
Getting the most from your new speakers
Upgraded speakers paired with a dedicated amplifier will significantly outperform the same speakers driven by a factory head unit. See the why add an amplifier guide for how to match an amp to your new speakers.