If you are not comfortable installing your subwoofers yourself, MTX recommends they be installed by an authorized MTX retailer or car audio specialist. Verify all connections before powering up the system.
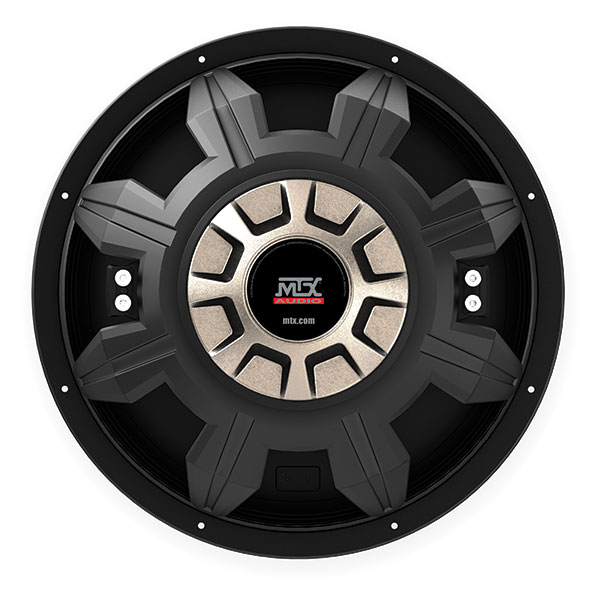
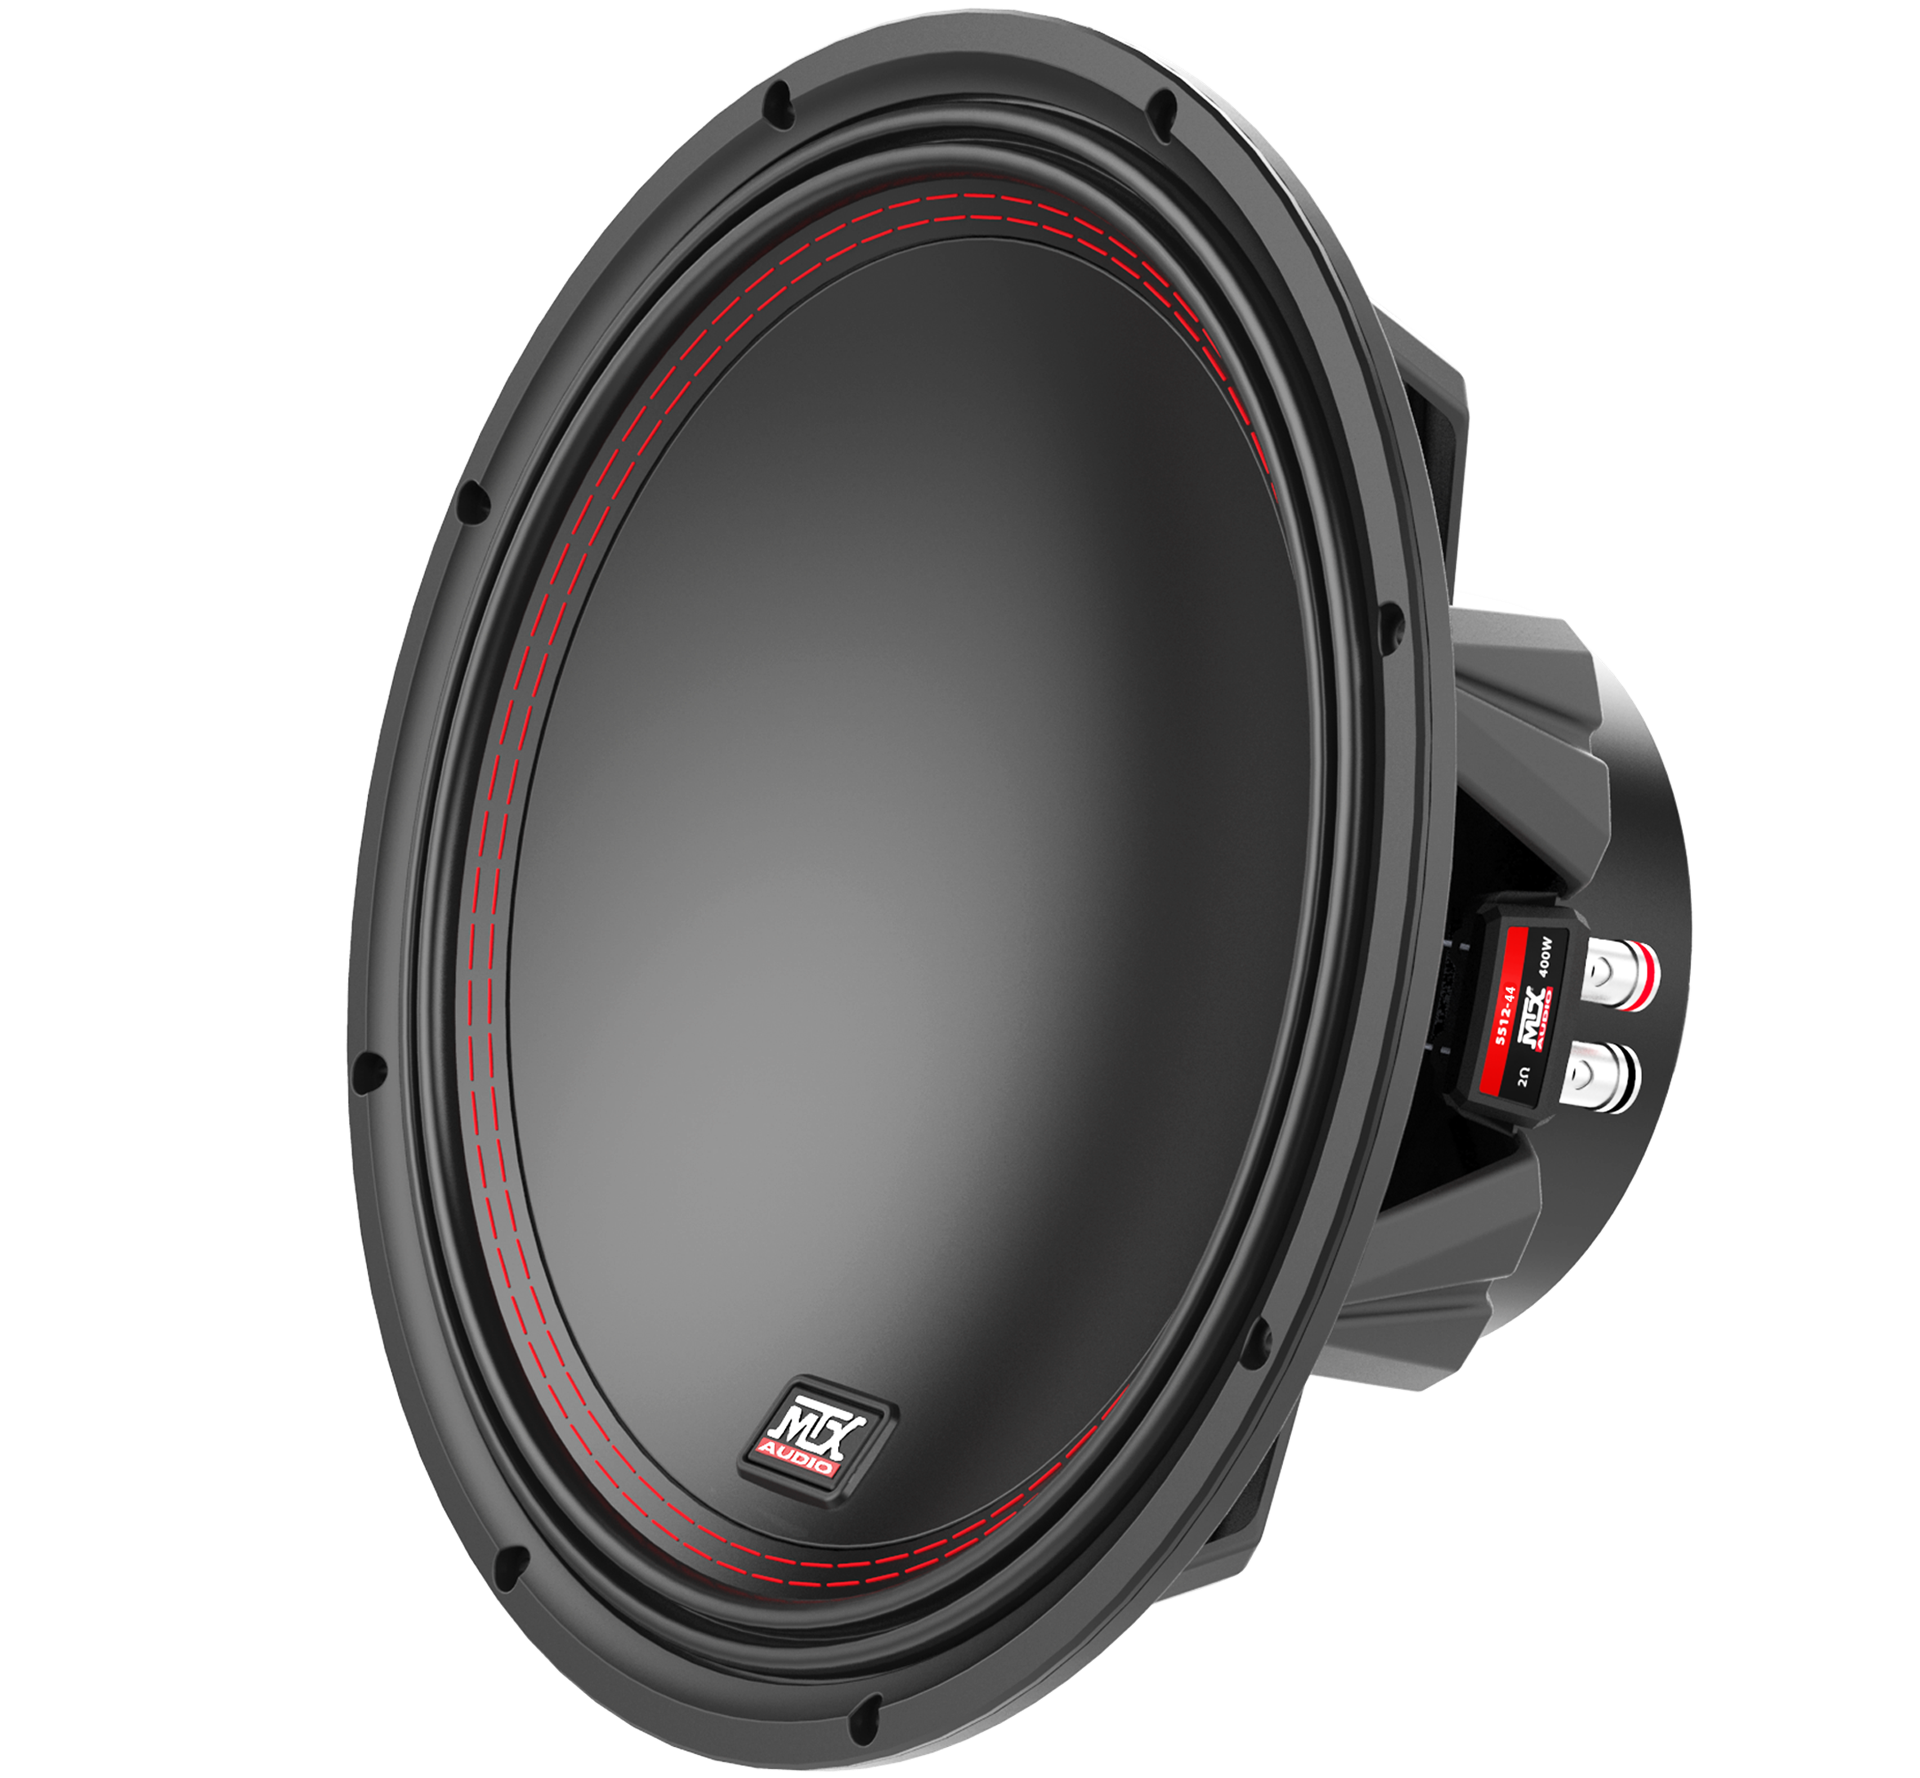
MTX 55 Series dual voice coil subwoofer
1
Unbox the Subwoofer
Remove the subwoofer from the product carton and inspect for any shipping damage before proceeding.
2
Prepare the Enclosure
A subwoofer must be installed in an enclosure to function properly. If you do not have an enclosure, buy or build one before proceeding. See the enclosure design guide and enclosure construction guide for more information.
3
Choose a Mounting Location
Subwoofers are typically mounted in one of three locations:
Trunk / Cargo Area
Most common location. Use a correctly sized enclosure for the available space.
Under / Behind Seat
Use an MTX ThunderForm custom molded enclosure if available for your vehicle, or a custom-built enclosure.
Custom Location
Use an MTX ThunderForm or custom-built enclosure designed for the specific mounting space.
4
Wire the Voice Coil Terminals
Connect speaker wire to the voice coil terminals on the subwoofer. Use the subwoofer wiring diagrams tool to ensure your wiring results in the correct final impedance and phase to match your amplifier. Then connect the other end to the terminal cup on the inside of the enclosure.
5
Mount the Subwoofer
Attach the subwoofer to the enclosure using the screws provided in the carton. Tighten evenly around the frame to ensure a proper airtight seal between the subwoofer and the enclosure baffle.
6
Connect Enclosure to Amplifier
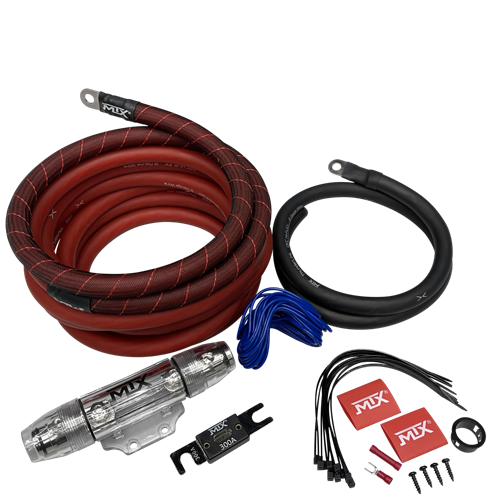
Run speaker wire from the enclosure terminal cup to the amplifier's speaker output terminals. Use the correct gauge wire for your amplifier's output — see the wiring guide for gauge recommendations. MTX ThunderLink wiring kits include speaker wire sized for your system.
7
Tune the Amplifier
Start with all amplifier controls turned fully down. Adjust in this order:
- →Gain first — set to match head unit output. See the gain setting guide or watch the gain setting video.
- →Crossover and filter settings second — set the low pass filter for your subwoofer.
- →Bass boost and subsonic filter last — if available, dial in after gain and crossover are set.
8
Power Up at Low Volume
Turn the volume down before powering on the audio system. Slowly bring the volume up and confirm the subwoofer is producing clean output at reasonable levels. Readjust gain if needed.
Need help matching your subwoofer and amplifier?
Use the wiring diagrams tool to find the correct impedance configuration, and the common power mistakes guide to make sure your amp and sub are properly matched before installation.